Quick Start Guide
This section provides an overview of Quick Start Guide.
Follow these simple instructions to set up your tracking efficiently and begin analysing without delay!
Note:
All tracking is done separately from any current existing tracking mechanism, eg: Google Ananlytics, Klavio, etc, and will not impact their results.
Set up new tracking
- Plan your strategy
-
Before launching campaigns, define what traffic sources or touchpoints you want to track—ads, emails, influencers, referral partners, etc.
Use unique tracking parameters (e.g., ?tkr=sums01) to identify each source and variation. For instance:https://yourshop.com?tkr=sums01 https://yourshop.com/hats/kids?tkr=sums01 -
Here,
tkr=sums01might represent “summer sale version 01.” -
Use structured, human-readable codes that map directly to campaigns. This makes it easier to filter data, compare results, and attribute revenue in your dashboard.
-
Keep a naming convention that’s consistent across all links and trackable channels. If you’re using external tools (e.g., Meta, Klaviyo), make sure these trackers align so you can cross-reference performance easily.
TL;DR:
Think of a tracker as a label you add to a link to see where your orders are coming from. For example:
-
Here,
tkr=sums01stands for “summer sale version 01” - This helps you track exactly where a customer came from, an email, an ad, or a post. -
Use simple names for each tracker so you can find them later when looking at results.
-
Create a tracker
- Open the
Trackersmodule and click onCreate New Trackerbutton:
- Open the
- Example Campaign Structure
-
This example shows how to structure a campaign for a Summer Sale using 9 trackers to measure performance. Trackers are organized into two categories:
Social Media(e.g., Instagram, TikTok, YouTube)Affiliate Marketing(e.g., influencers, bloggers, YouTube reviews)- Each tracker is labeled and grouped in the
trackercreation/edit module. This helps you clearly compare performance across channels.
-
💡 Open the folders to explore the structure. Trackers are shown in blue.
TL;DR:
Structure your campaign by grouping trackers into categories — such as Social Media and Affiliate Marketing. Assign a unique tracker to each channel, source, or media to measure where your traffic and sales are coming from.
- Example:
https://yourshop.com?tkr=sums-tt01for a TikTok influencer promoting your summer sale.https://yourshop.com?tkr=sums-yt01for a YouTube review,https://yourshop.com?tkr=sums-blg01for a blogger.
This keeps the link simple and makes it easy to compare results across different traffic sources and see which ones drive the most sales.
Measure campaign with new tracking
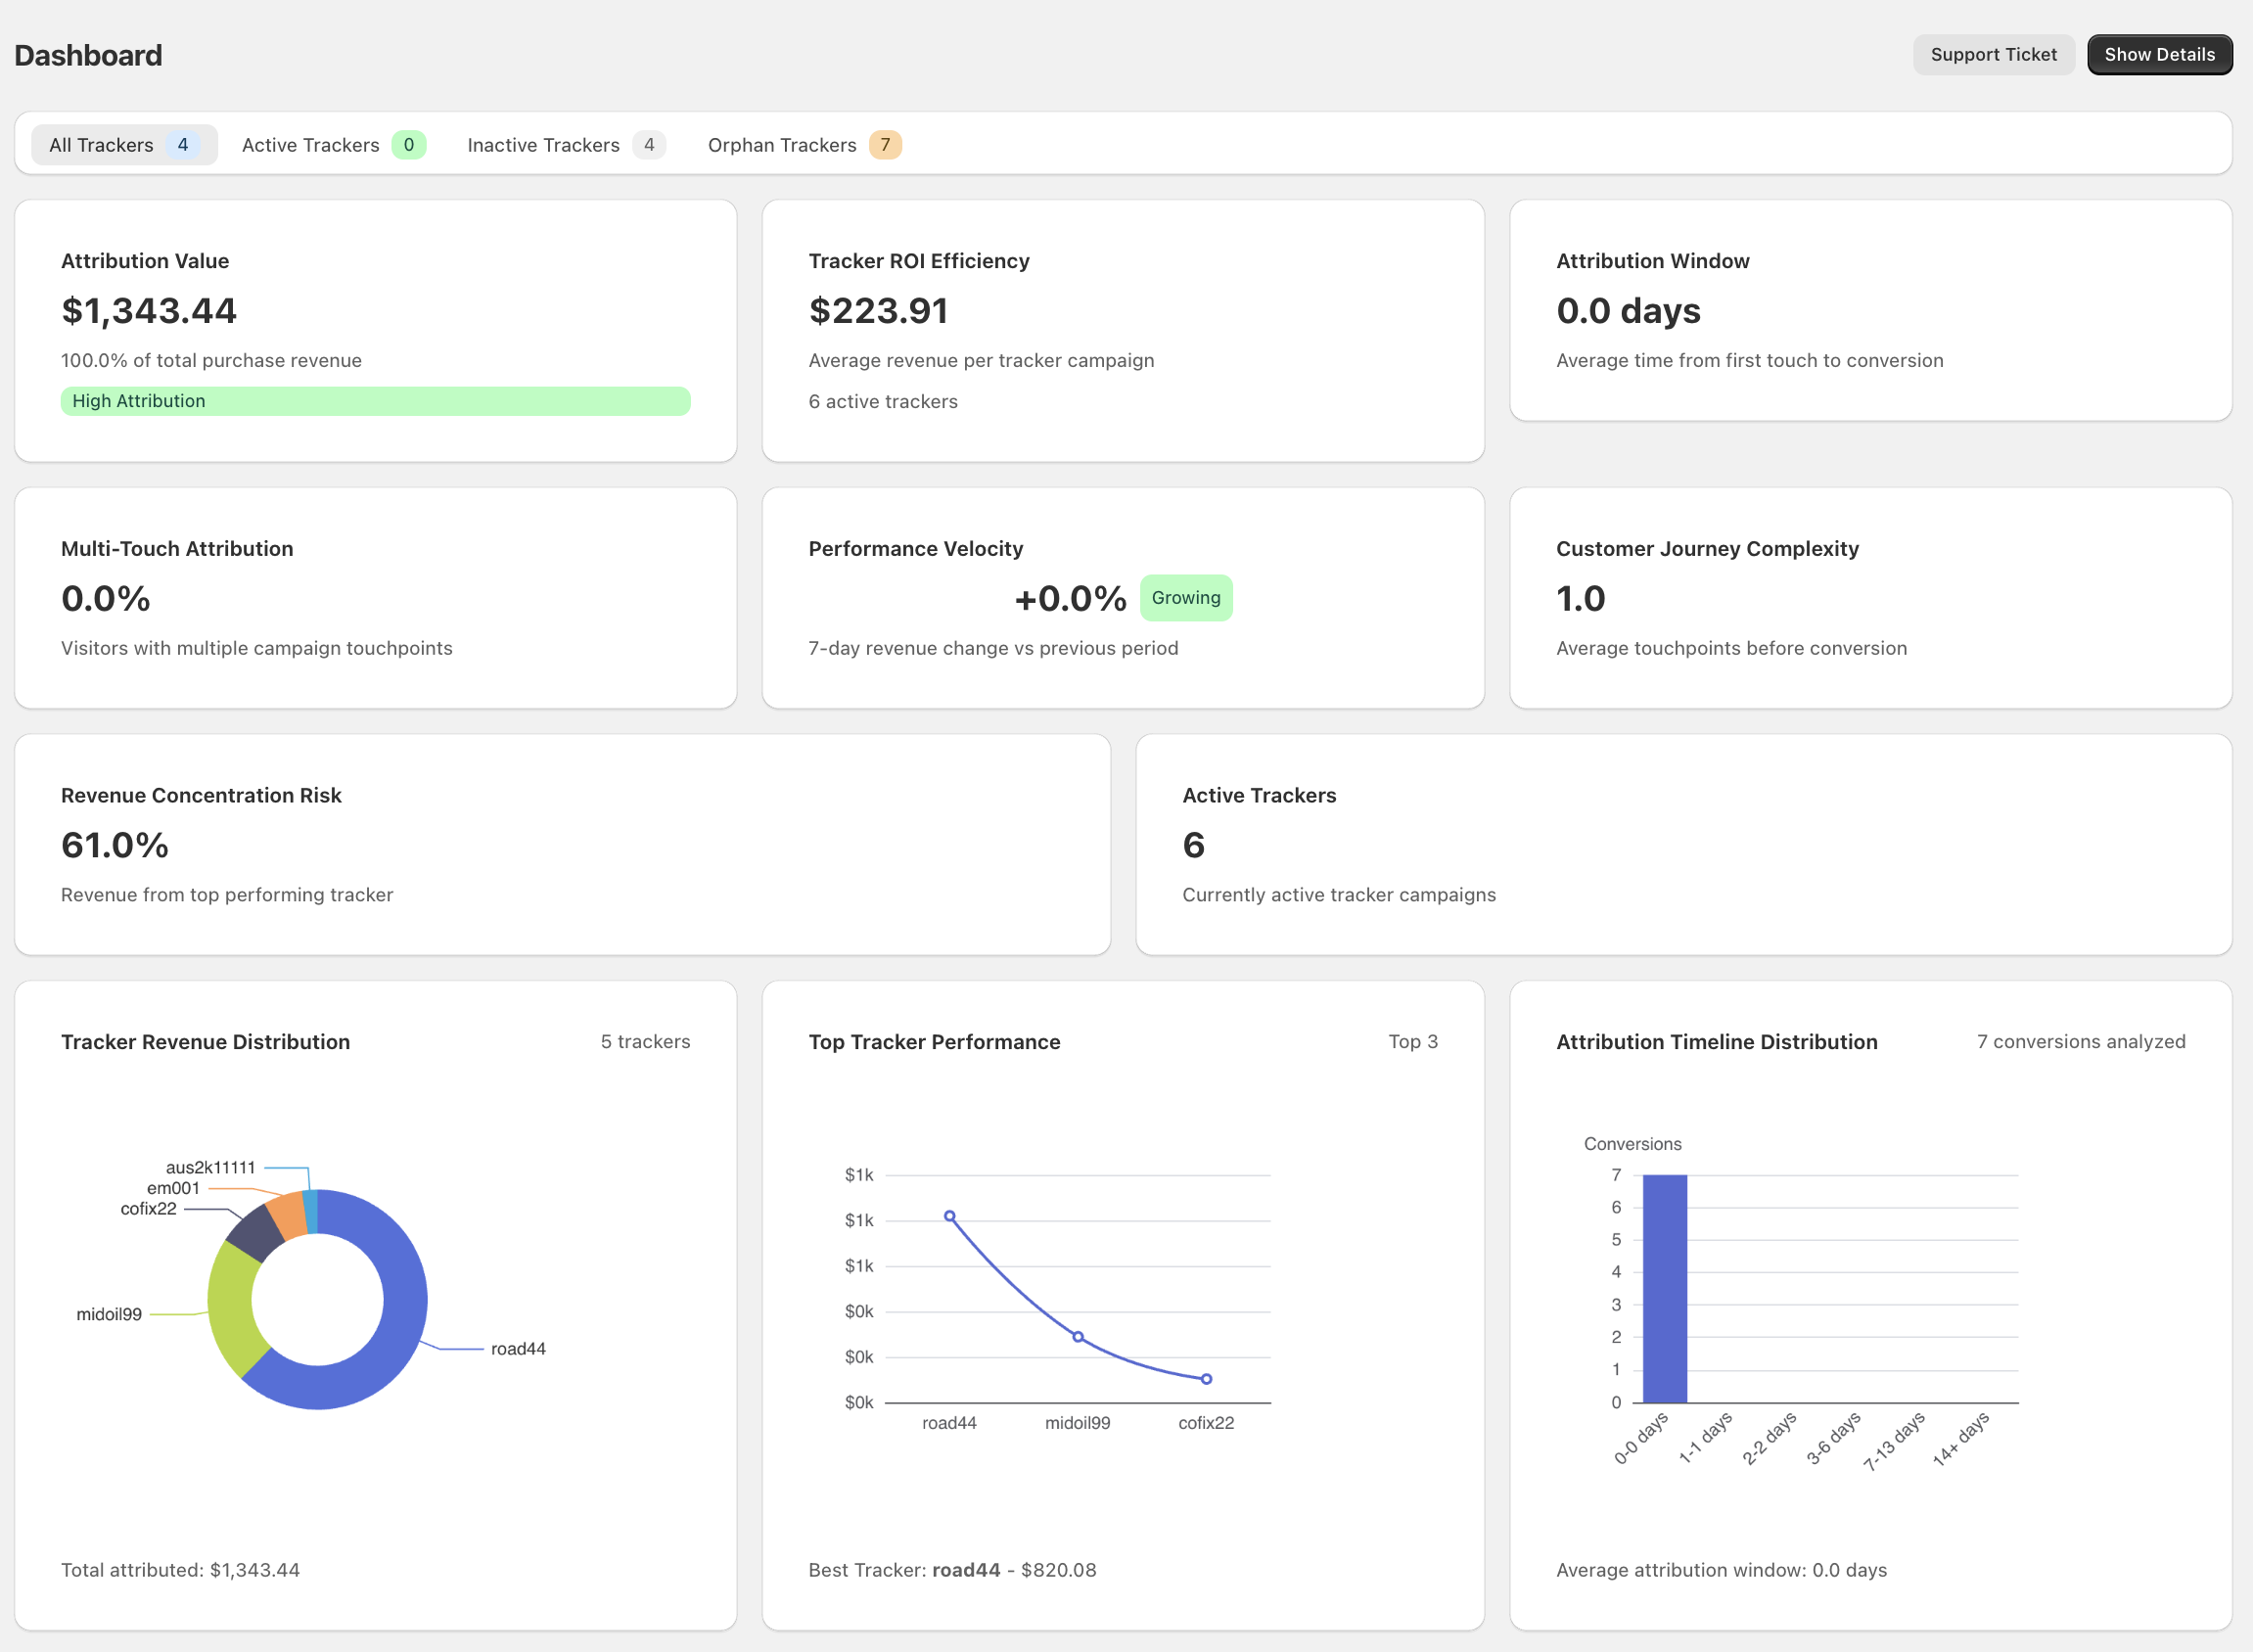
- Track Activity
Once you’ve shared your links with designated trackers and customers begin placing orders, those sources will automatically appear in your Dashboard — updated in real-time. You’ll see exactly which trackers are driving sales as they happen.
- 🚀 You’re Now Ready to Grow
As tracker data starts flowing in, you’ll begin unlocking the full power of the other modules in the ulittle app. We’ve designed everything to help you make informed decisions — no assumptions, just clear insights based on your actual sales data.
What’s Next?
- Use the toolset provided to fine-tune your marketing strategies in real time.
- Explore other modules to gain deeper insights and take action faster.
- You’ve just taken your Shopify store to the next level.
TL;DR:
You’re set up and tracking. As data comes in, the ulittle app’s tools will help you understand what’s working and what’s not — based on real sales. Use this insight to fine-tune your marketing and grow smarter.
Explore Further
To dive deeper into how trackers work, visit the Trackers section in the Modules. There you’ll find more details on how to create, edit, organize, and analyze trackers for your campaigns.